

This post may contain affiliate links. Please read our disclosure for more info.
When I started my first yoga class I remember the day the teacher introduced us to Pigeon Pose. When I tried getting into the pose I quickly realized I couldn’t do it. I would feel this burning sensation in my hips as I attempted to fold over my leg. I thought I just wasn’t flexible enough, but I later learned that was not the only reason.
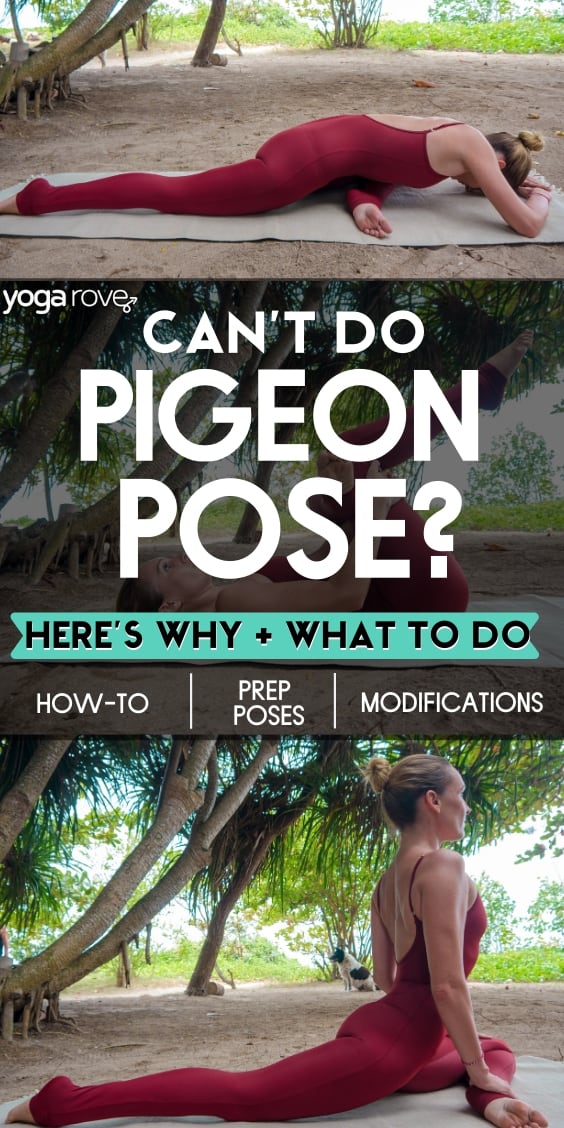
Why can’t you do Pigeon Pose? The reason you can’t do Pigeon Pose is that you haven’t developed the necessary strength and flexibility the glutes require. Build up to Pigeon Pose through variations such as Reclined Pigeon and Seated Pigeon Pose. For more support, place a yoga block under your glutes to reduce tension.
After 5 months of training I was able to get into pigeon pose without being in any pain. In this article we are going to go over many variations and modifications you can work on in order to help you get into Pigeon Pose. At the end of the article we are going to give you a few glute strengthening poses to practice and more hip openers to help build up towards pigeon pose.
Pigeon Pose Video Tutorial
In this video you are going to learn about the different methods to help you improve your flexibility and strength to build up to pigeon pose. You will also learn about important modifications that every beginner yoga student will find useful. Enjoy!
Pigeon Pose Proper Form
Before jumping into the many modifications of Pigeon Pose let’s take a look at the proper way to get into the pose. For some of you the main reason you can’t do Pigeon Pose is because your instructor has shown you the improper form and it is causing you pain.
The instructor may be showing you a position that causes your bent knee to form a right angle with your lower leg. This type of positioning is only for very flexible people and may cause damage to your piriformis muscle if done incorrectly.
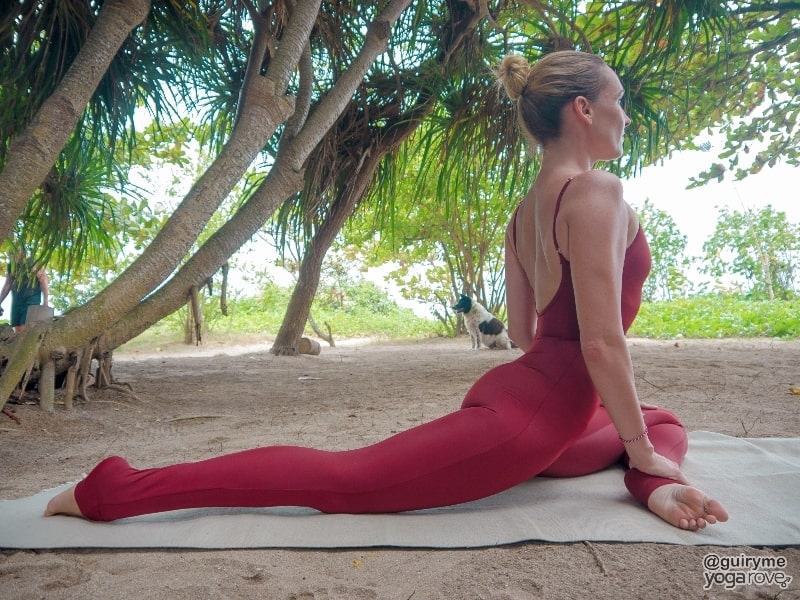
Let’s talk about the proper way to do single legged pigeon.
How to Do Pigeon Pose with Proper Form
- To get into Pigeon Pose first start off in tabletop position. Bring your left leg back, pointing the toes at the wall. Slowly bring your left knee toward the front of your mat.
- Next take your right toes and bring them toward the back of your mat. Maintain an open chest and slowly bring your left foot towards the right of your mat.
- Inhale and expand your chest upward. Keep your gaze focused upward toward the ceiling and hold here for 3 breaths.
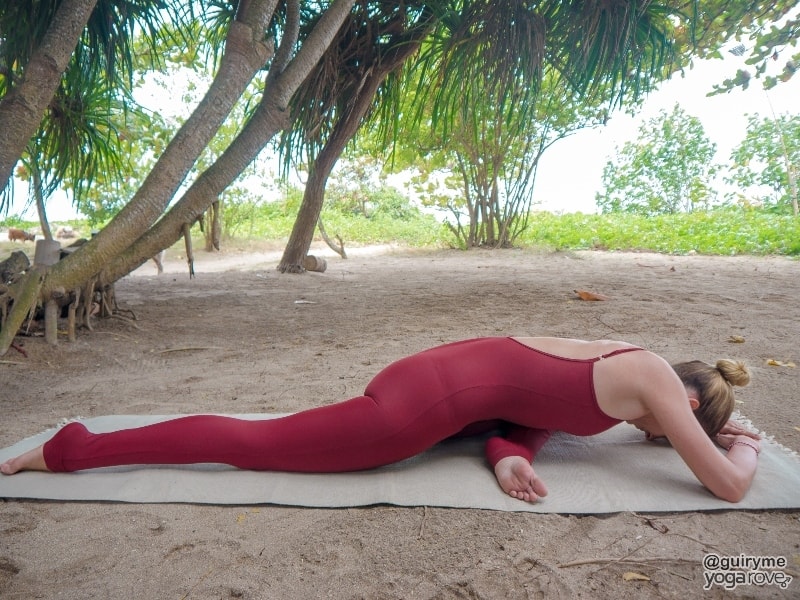
- Slowly fold over and use your arms as support to bring your torso closer to the mat. Take your time with this part. Eventually you will be able to rest your forehead on your mat with enough practice.
- Remember if you can’t fold over completely use blocks to bring the floor closer to you. If something doesn’t feel right don’t do it. This is a very intense pose and it is going to take time for your body to adjust. Check out the modification to the pose below to help you improve your pigeon pose.
Pigeon Pose Variations (Modifications)
- Reclined Pigeon Pose (Supta Kapotasana)
- Seated Pigeon Pose
- Lifted Pigeon Pose
These Pigeon Pose variations will help you in progressing toward traditional Pigeon Pose. Some of the poses are modified to make it easier for you to hold the traditional pose.
One thing to always remember is to move very slowly and controlled. Never force your body to do something it is not ready to do. How do you know when it’s not ready? It will scream at you and say “Hey, stop moving!”.
Lets begin:
Reclined Pigeon Pose (Supta Kapotasana)
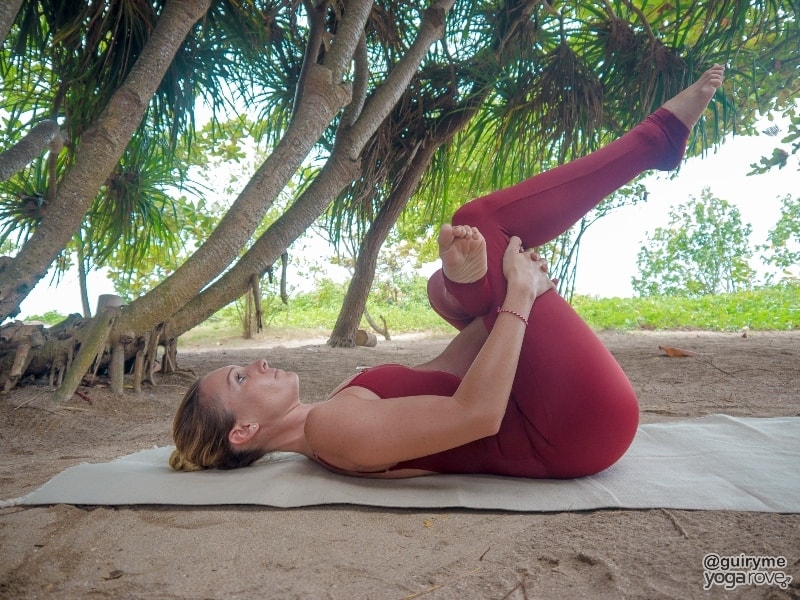
- In this pose you are going to lie down on your back, bend both knees and place them on the mat.
- Place your right ankle just above your left knee.
- Slide your right hand through the space between your leg and your left hand on the opposite side of your leg. Gently pull your left leg toward your body.
- Make sure your right foot is flexed the entire time. Hold for a couple breaths and repeat on the other side.
Seated Pigeon Pose
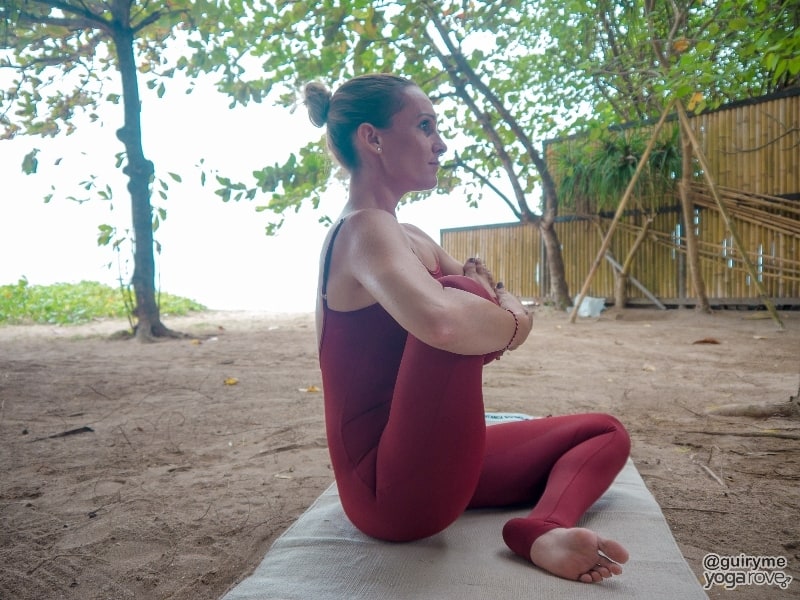
- This pose is going to require you to sit on the ground or on a chair.
- While on a chair sit up tall. Bring your right ankle over your left leg. Make sure you support your right knee with your right hand and your right foot with your left hand.
- Exhale and pull yourself closer to your leg. Hold this pose for a few breaths before switching to the other leg.
- Those of you with back pain here is your answer! Practicing doing this pose every day to relieve lower back and sciatica pain.
- I also wanted to let you know that this same positioning can be applied with a person sitting down on their mat. See the video below for more detail.
Lifted Pigeon Pose
For this pose I took the artistic liberty of giving it this name. While researching different modifications of Pigeon Pose this positioning came up while watching the following video from the YouTube Channel Yoga with Adriene and it never had a proper name.
To get into this pose you are going to work your way towards traditional Pigeon Pose. Instead of having your toes untucked, tuck them and keep your knee bent.
The goal with this pose is to reduce the stress it is having on your hip. For extra support place a block in front of you.
2:23 is the location of the pose in the video below.
Yoga Block Modifications for Pigeon Pose
There are different locations you can place a yoga block in order it to assist you. If you do not have a yoga block you could always fold up a towel or find a very large book.
One of the first locations to place the yoga block (or towel) is under your hip. If you notice that your hip is externally rotating to the side causing you to become unbalanced and fall over, place the block under you hip for extra support.
For those of you trying to bring your forehead to the ground and you can’t quite make it, bring the ground closer to you. You do this by placing a yoga block in front of you and resting your head on the block instead.
Please do not view yoga blocks as a form of “cheating”. This is not a race to see who can get to the yoga pose first. Each and every one of us have different bodies and will progress at different rates.
The basic equation to always follow is alignment over depth. Pushing yourself to cause you pain and ultimately injure yourself should never be the goal. (Alignment > Depth)
Check out our How to Use Yoga Blocks to Improve Your Practice post to learn various other ways to use blocks.
Glute Strengthening Poses (Prep Poses for Pigeon Pose)
Having weak glutes will make it very hard for you to maintain Pigeon Pose. Here is a list of glute toning yoga poses that you should work on:
- Chair Pose
- Fire Hydrant Lifts
- Locust Pose
- High Lunge
1.Chair Pose
Chair Pose is going to help you develop your thigh and glute muscles. At first this pose will be hard for you to hold for a couple breaths but with enough practice your body will adapt.
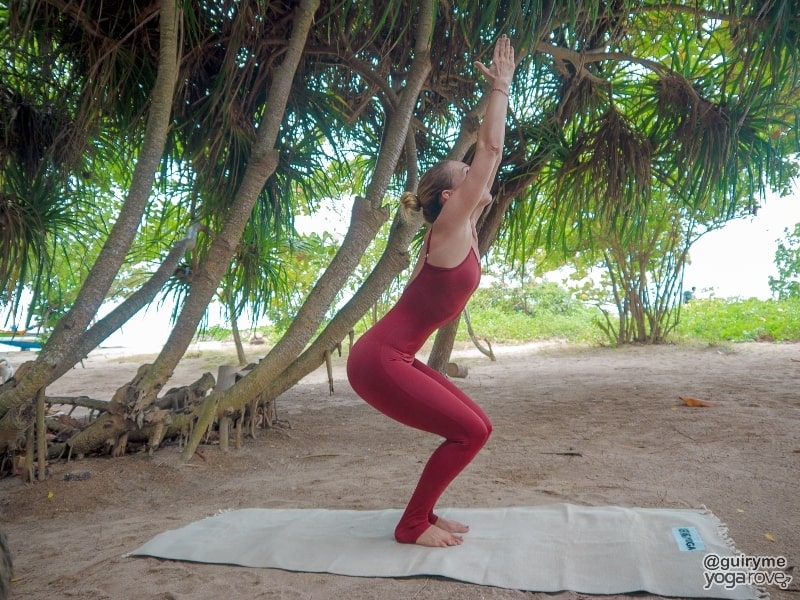
How to do Chair Pose:
- Start off in Mountain Pose with your big toes touching and your heels slightly separated.
- Bend your knees and drop your hips as if you are about to sit in a chair.
- Reach your arms up along the side of your ears. Make sure your palms are facing one another and your gaze is in between your palms.
2. Fire Hydrant Lifts
Fire hydrant lifts are great for activating and strengthening the glutes and hips. Doing so will improve the range of motion in your hips and make pigeon pose more accessible.
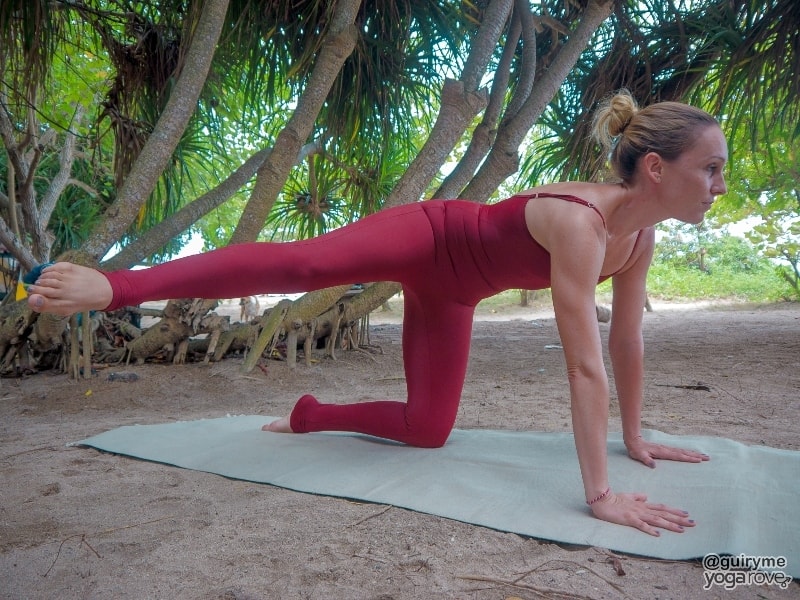
How to do Fire Hydrant Lifts:
- Start in table top pose. Align your hands with your shoulders and your knees with your hips.
- Firmly press into the ground and lift your right knee to the side. When lifting your knee maintain a 90 degree angle. Hold here for three breaths.
- Slowly bring down your knee and repeat on the other side.
3.Locust Pose
Locust is another great pose for activating and strengthening the glutes, which are so important to develop in order to be able to successfully practice pigeon pose.
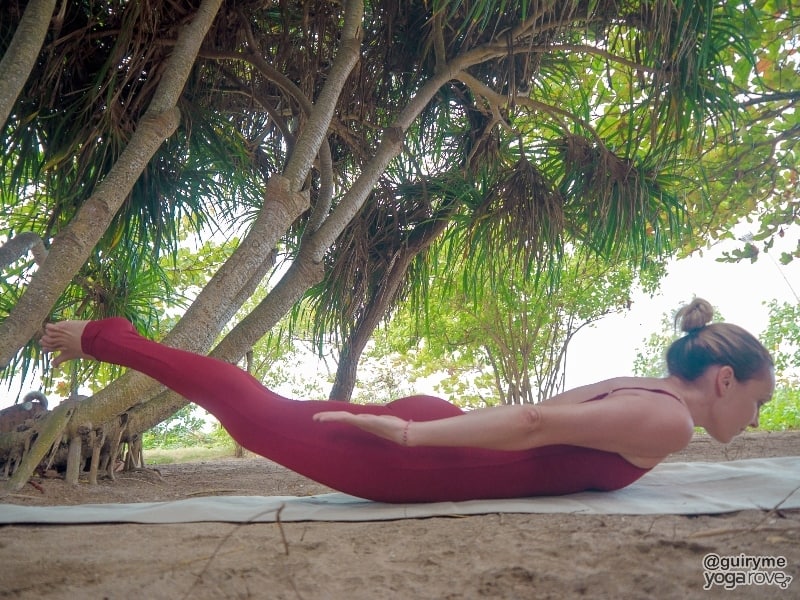
How to do Locust Pose:
- Lie down on your stomach with your hands by your hips and your forehead touching the mat. If you can’t place your forehead on the mat you could always turn it to the side.
- Lift your head, chest, arms, and legs off the ground. Keep your legs straight and your arms parallel to the ground with your palms up.
- Gaze forward and hold this pose for 3 breaths.
4. High Lunge
High Lunge is a great hip opener, and gives you complete control over how deep you want to go into the pose. The farther you push forward with your hips, the deeper the stretch you will feel in your hip flexors. Tight hip flexors and another key factor that makes pigeon pose uncomfortable for some beginners.
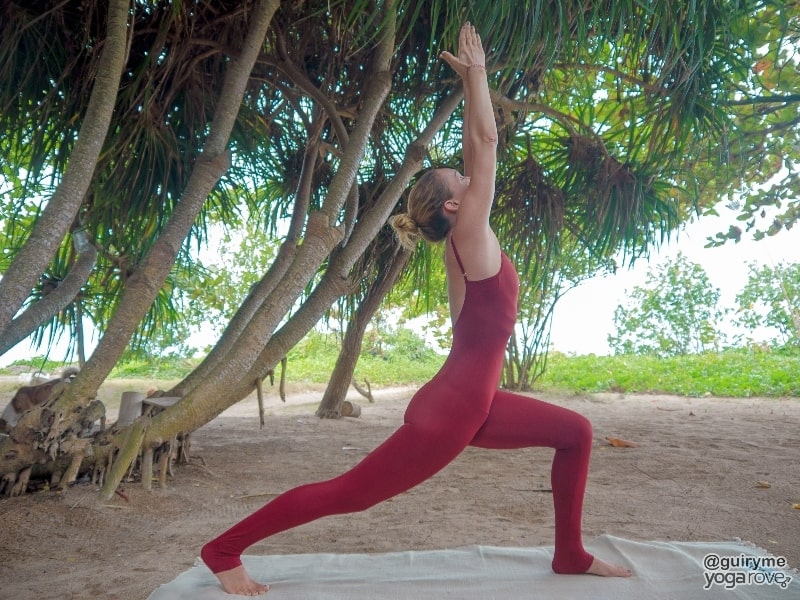
How to do High Lunge:
- Start off in Downward Dog pose. Gaze your head in between your hands and bring your right foot forward.
- For those of you that aren’t as flexible as I am, you may have to adjust your body in a way that will allow you to bring your right foot next to your right hand.
- Next, make sure your left foot is planted and your toes are slightly away from the body. Keep the heel of the back foot lifted. Ground your feet and bring your torso up.
- Maintain a strong base and bring your hands above your head with the palms facing each other.
- Push your hips forward, keeping them square, to deepen the stretch.
Modification: Feel free to practice this pose with your back knee on the ground for more support!
Yoga Hip Opener Routine With A Strap
Using a yoga strap was a game changer for opening up my hips. If you do not own a strap we highly recommend investing in one to assist in improving your mobility.
Having a strap allows you to go deeper into a stretch you wouldn’t normally get into. In this sequence, your arms will help assist and control the deepness opf this stretch and provide a deep release in the hamstrings and hips.
Before doing any of these stretches with a strap I highly recommend you warm up with your body with a few rounds of sun salutation or any beginner yoga routine.
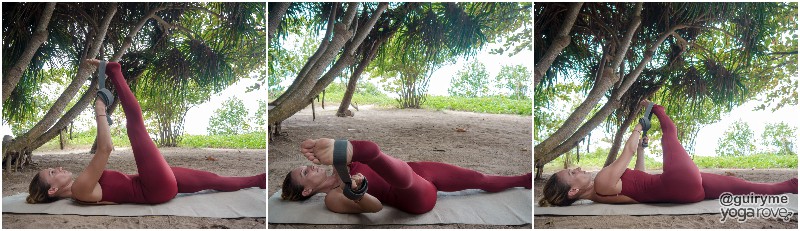
How to do the Hip Opener Routine with a Strap:
- Sit down with both feet out in front of you. Place the strap around both of your feet and gently begin to pull yourself forward. Maintain a flat back to feel more of a stretch. Bending your back forward so you think you are flexible isn’t going to help. Hold this pose for 5 breaths.
- Next lie down on your back with the strap rapped around your right foot. Make sure both feet are flexed. Raise your right leg and gently pull forward of the strap with both hands to bring it closer to your body. Hold for 5 breaths.
- Place the both sides of the strap into your right hand and slowly start to bring it to the right. Pull gently with your right hand and hold it here for 5 breaths. Remember to maintain a flexed foot on both feet.
- Slowly bring your right foot back to center and transfer the strap to your left hand. Slowly bring your foot to the left side of your body while maintaining a flexed foot and hold for 5 breaths.
- Bring you right foot back to the center. Have both sides of the strap in both hands and slowly bring your foot closer to you while you also try to bring your head towards your knee. Hold this pose for 5 breaths.
- Release everything slowly towards the ground and notice how much more open your right side is. Most of the time when I do this my leg usually lengthens a little. This is especially noticeable when you place the grounded foot up against the wall.
- Shake out your legs and proceed with the left side.
Practicing this yoga hip opener routine will really help stretch your muscles around your hips and your hamstrings. After practicing the routine a couple times you will start to feel more loose and fluid in your hip area.
One of the biggest causes of tight hips is sitting too much. Everything we do requires us to sit down and we don’t give ourselves enough time to stretch out our hips. This lack of stretching causes our hips and lower back to become tight.
Try to commit to practicing these poses and hip opener routine at least three times a week and then working on your pigeon pose afterwards, using the block modifications mentioned earlier if needed. I would love to hear about your progress in the comments below of your results after a few weeks!
Related Questions:
How Long Is It Going to Take me to get into Pigeon Pose?
Every single person that goes on this journey is going to have different results. It took me about 5 months to get into pigeon pose. Every week I went to a one hour yoga session and practiced two to three times a week on my own for 30 minutes each session.
In other forum groups I have seen people spend up to 10 months trying to get into the pose. The goal you want to have is not to force your body. Always put alignment first over a deeper stretch. Never force your body to do something it does not want to do.
Can I Use Yoga Blocks For Other Poses?
Absolutely! Yoga blocks are an amazing tool for your practice that is perfect for beginners and advanced practitioners. They provide the opportunity to give you more balance or increase the depth of you pose when your body allows it.
Why is it Called “Pigeon” Pose?
During Pigeon Pose you thrust your chest upward and gaze toward the ceiling. Since you are thrusting your chest upward it is replicating the form of a pigeon puffing its chest out.

Victor is a Registered Yoga Teacher, Certified Breath Coach, and the Co-Founder of Yoga Rove with his wife Ally. He has been practicing yoga for 12+ years and has a passion for teaching others how to feel better physically, mentally, and spiritually through movement and mindfulness practices.

I’m not flexible at all
I haven’t had any injuries but I can not get my knee to bend my leg back past 90 degrees. With this issue I can’t sit on my heels so a pigeon pose would be impossible in my case.
Thoughts?
Hi Tasheanta!
For that you could try using a block by placing it under your hip on the side of your front leg- this will elevate your hip and provide more support for your knee, making it less intense.
You could also try Reclined Pigeon- where you are lying on your back with both legs bent and your one ankle resting on your thigh- this allows you more freedom on the severity of the bend.
As time goes on and you improve your flexibility you will be able to gradually deepen into the pose. Just make sure to take your time and listen to your body. Feel free to email us if you have any other questions 🙂
Pigeon pose. I get pain in my knee. Can’t get my front leg at 90 degree angle. What can I do to overcome. Thanks
Hi Beverly,
Many people have this same issue. Using a block under your hip of your front leg will elevate your hip and provide more support for your knee. You can also start off with Reclined Pigeon Pose. Also, it is completely okay to not have your knee bent 90 degrees at first, for most the front foot will be pointing more towards you until you gain more flexibility. This is still fine as long as you are practicing correct alignment! We have multiple flexibility articles on our website you might find helpful: https://yogarove.com/flexibility/
Beautifully presented and excellent instruction, as usual. Well done guys. Love your site. Many thanks.
Thanks Sandra! Glad you found it helpful 🙂